
Advertisements
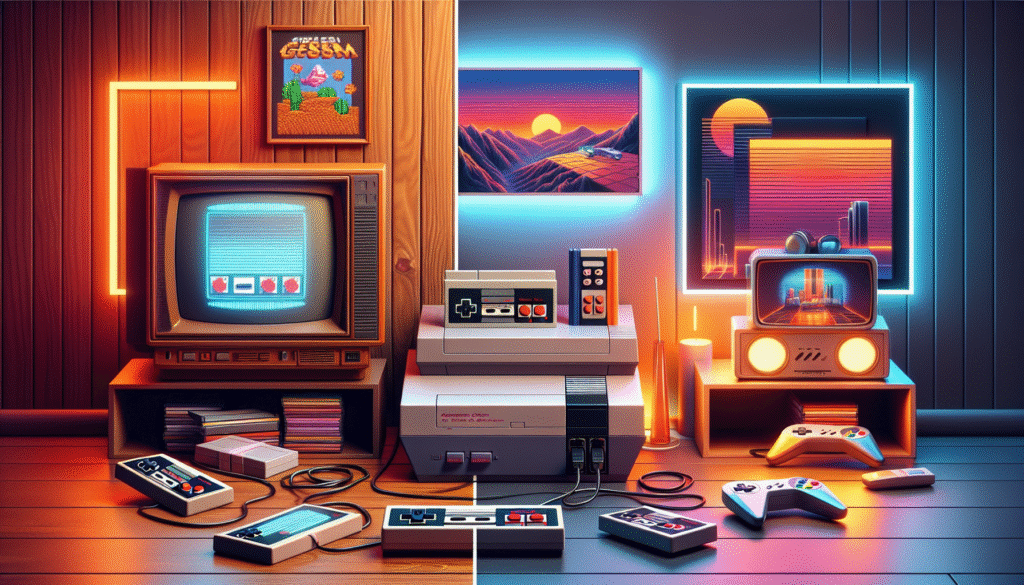
Let me tell you something crazy – over 65% of gamers still play retro games regularly! When I first started setting up my retro gaming console collection, I made so many mistakes that my living room looked like a RadioShack exploded. But after years of trial and error, I’ve finally cracked the code to creating the perfect retro gaming setup.
Whether you’re dusting off your old Nintendo or diving into vintage gaming for the first time, getting your retro console setup right can make or break your nostalgic gaming experience. Trust me, there’s nothing worse than finally sitting down to play Super Mario 64, only to realize your N64 looks like garbage on your modern TV!
Choosing the Right Display for Your Retro Gaming Setup
Here’s where I really messed up initially. I plugged my Super Nintendo into my 65-inch 4K TV and wondered why everything looked stretched and blurry. Turns out, retro consoles were designed for CRT televisions, not modern displays.
After lots of research (and some heated forum debates), I discovered three main options. First, you can hunt down an actual CRT TV – check out Facebook Marketplace for local deals. Second, modern TVs with good upscaling like the LG C2 OLED work surprisingly well. Third, gaming monitors with low input lag are solid choices too.
My personal sweet spot? I snagged a 27-inch Sony Trinitron for $40 from a garage sale. The picture quality is chef’s kiss for anything before the PS2 era. Just be warned – these things are heavier than they look!
Essential Cables and Adapters You’ll Actually Need
Oh boy, the cable situation nearly drove me insane. Most retro consoles came with composite cables (those red, white, and yellow ones), but they look terrible on modern TVs. Seriously, it’s like watching games through a screen door.
For the best picture quality, I’ve learned to invest in quality cables. Retro Gaming Cables makes amazing SCART and component cables for most systems. Additionally, the RetroTINK upscalers are absolute game-changers if you’re using a modern display.
Pro tip: Don’t cheap out on cables. I bought knockoff component cables for my PS2 once, and the picture was worse than the original composites. Sometimes spending an extra $20-30 really does make a difference.
Organizing Your Console Collection Like a Pro
When I first started collecting, my entertainment center was a disaster. Tangled cables everywhere, consoles stacked on top of each other, controllers thrown in a box – it was chaos. Eventually, I realized organization isn’t just about looks; it’s about preserving your equipment.
Now, I use a combination of wire management solutions and dedicated shelving. IKEA’s Kallax units are perfect for displaying consoles, while cable management boxes hide the mess. Moreover, I label everything because remembering which power adapter goes with which console gets tricky fast.
One thing nobody tells you – ventilation matters! My original Xbox overheated constantly until I gave it proper breathing room. Learn from my mistakes and don’t stack consoles directly on top of each other.
Controller Storage and Maintenance Tips
Controllers are arguably the most important part of any retro gaming setup, yet they’re often treated the worst. I used to just toss them in a drawer, which led to tangled cords and sticky buttons. Not cool.
These days, I hang my wired controllers on simple coat hooks mounted inside my entertainment center. For cleaning, isopropyl alcohol and cotton swabs work miracles on gunky buttons. Furthermore, I’ve started using controller condoms (yes, that’s what they’re called) to protect my favorites from wear.
Quick heads up – if you’ve got original N64 controllers, the analog sticks will probably be loose. Steel bowl replacements can bring them back to life without sacrificing the original feel.
Setting Up the Perfect Gaming Space
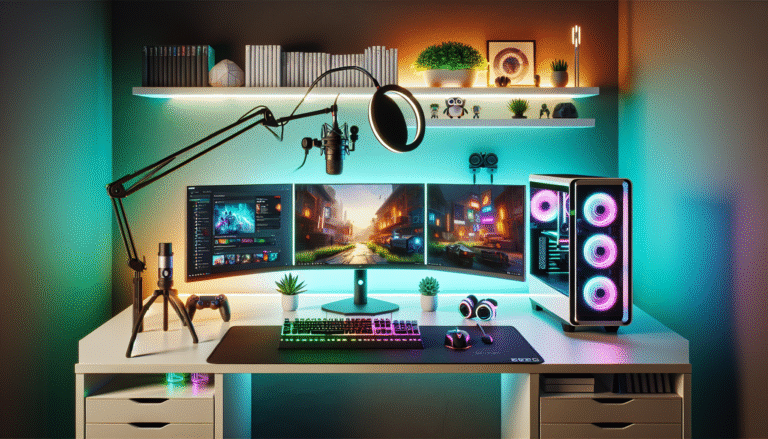
Creating the right atmosphere makes a huge difference in your retro gaming experience. Initially, I just played wherever, but dedicating a specific space transformed how I enjoyed these classics. The lighting, seating, and even wall decorations all contribute to that nostalgic vibe.
I’ve found that dimmable LED strips behind the TV reduce eye strain during long sessions. Additionally, a comfortable gaming chair or couch positioned at the right distance is crucial – sitting too close to a CRT can actually cause headaches. Finally, displaying game boxes or posters adds to the ambiance without breaking the bank.
Your Retro Gaming Journey Starts Now
Setting up a proper retro gaming console space takes time and patience, but man, is it worth it. From choosing the right display to organizing your growing collection, each step brings you closer to reliving those golden gaming memories in the best way possible.
Remember, there’s no “perfect” setup – what works for me might not work for your space or budget. Start small, experiment with different configurations, and most importantly, have fun with it! The retro gaming community is incredibly helpful, so don’t hesitate to ask questions.
Ready to dive deeper into the world of retro gaming? Check out more guides and tips right here on Streamcade – we’ve got everything from specific console reviews to game recommendations that’ll keep your nostalgia meter maxed out!

[…] fire up OBS, and start creating! Furthermore, if you’re looking for more streaming tips and gaming content, check out other posts here on Streamcade—we’ve got your back on this […]