
Advertisements
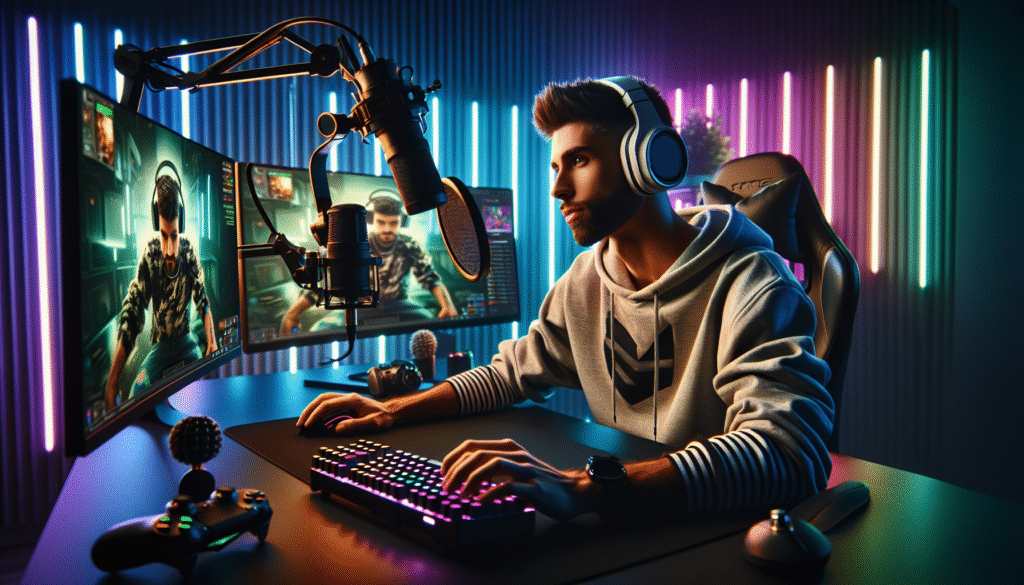
Did you know that 65% of gamers experience eye strain during long gaming sessions? Yeah, I learned that the hard way after a brutal 12-hour marathon left me feeling like my eyeballs were made of sandpaper! Honestly, proper gaming room lighting isn’t just about looking cool on stream – it’s about preserving your vision and actually improving your gameplay.
Let me tell you, when I first started gaming seriously, my setup was basically a desk lamp pointed at the wall. Not exactly the vibe, right? However, after years of trial and error (and way too much money spent on RGB strips), I’ve finally cracked the code to the perfect gaming room ambiance.
Why Your Current Lighting Probably Sucks
So here’s the thing – most of us are gaming in rooms with terrible lighting. Either it’s too bright and creates screen glare, or it’s so dark you’re basically staring at a bright screen in a cave. Neither option is doing your eyes any favors.
I remember when I used to game with just my overhead light on. The glare on my monitor was insane! Plus, that harsh downward lighting created shadows that made it harder to see what was happening in darker game areas. Eventually, I realized that ambient lighting behind the monitor reduces eye strain by creating a more balanced light environment.
Furthermore, poor lighting can actually affect your performance. When your eyes are constantly adjusting between bright screens and dark rooms, reaction times slow down. Trust me, I’ve lost plenty of ranked matches because of this!
Essential Components for Your Gaming Light Setup
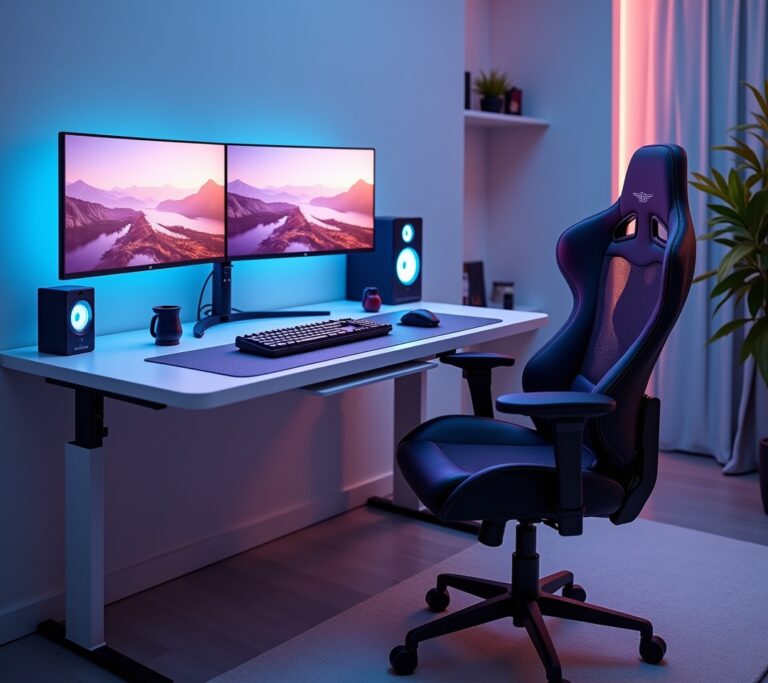
Alright, let’s dive into what you actually need. First up, bias lighting – this is the MVP of any gaming setup. Basically, it’s lighting placed behind your monitor that creates a gentle glow around the edges.
I use Philips Hue Light Strips behind my main display. They’re pricey, but man, the customization options are worth it! Additionally, you can sync them with your games for immersive lighting effects.
- Bias lighting strips (LED preferred)
- Adjustable desk lamp for task lighting
- Smart bulbs for overhead ambient light
- Optional: RGB panels or hexagon lights for that streamer aesthetic
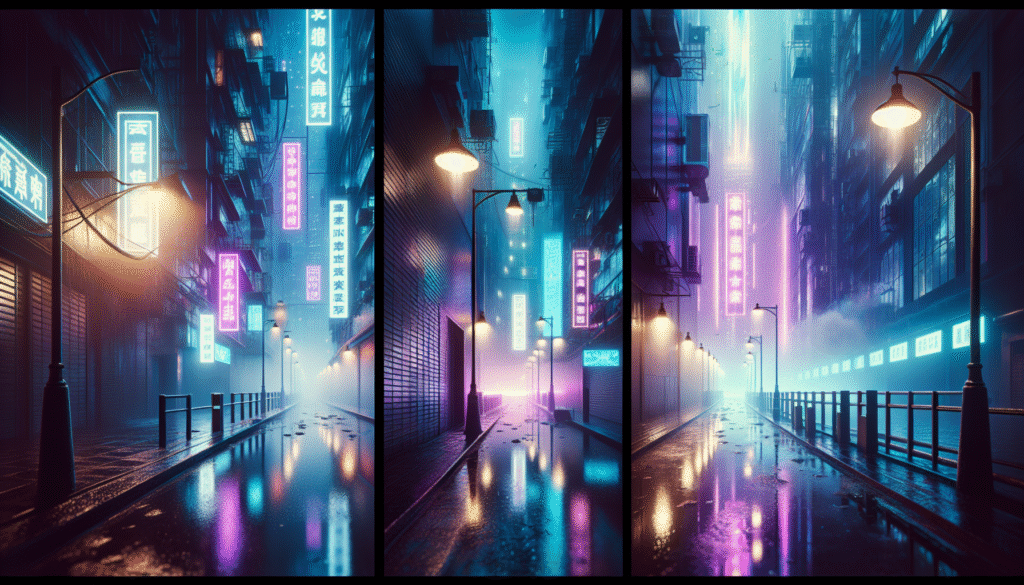
Moreover, don’t forget about color temperature. During daytime gaming, I keep my lights around 5000K (cool white) to match natural light. However, for nighttime sessions, I switch to 2700K (warm white) to reduce blue light exposure.
Setting Up Your Lights Like a Pro
Now, placement is everything! I learned this after sticking LED strips in all the wrong places and creating what my friends called a “disco nightmare.” Subsequently, I had to redo everything.
Start with your bias lighting first. Mount it about 2-3 inches from the edge of your monitor, facing the wall. This creates that nice halo effect without any direct light hitting your eyes. Furthermore, make sure the strips are evenly spaced – nothing ruins the vibe like uneven lighting!
For your main room lighting, I recommend using Nanoleaf panels or similar. Place them at eye level or slightly above, but never directly behind you where they’ll cast shadows on your screen. Additionally, smart bulbs in your overhead fixture give you control over brightness and color.
The Three-Point Lighting Rule
If you’re into streaming, you gotta know about three-point lighting. Basically, you need a key light (main light source), fill light (reduces shadows), and background light. I use a ring light as my key light, a softer LED panel for fill, and my RGB strips handle the background.
Nevertheless, you don’t need to go crazy with professional lighting. Even a simple desk lamp positioned correctly can make a huge difference! Just remember to diffuse harsh lights with lampshades or diffusion paper.
Common Mistakes That’ll Ruin Your Setup
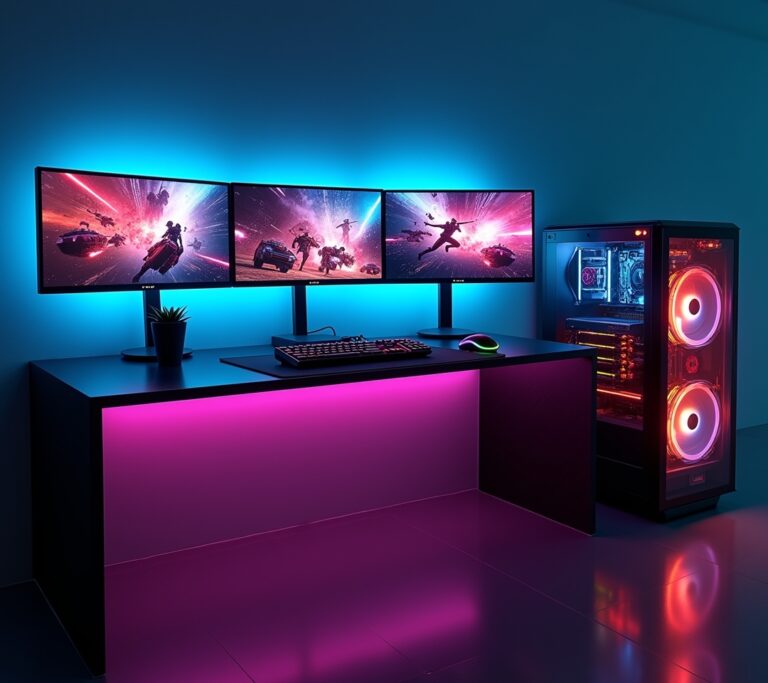
Oh boy, let me save you from my mistakes! First off, don’t go overboard with the RGB. I once had every surface covered in rainbow lights – it looked like a unicorn exploded in my room.
Another mistake? Ignoring cable management. All those pretty lights come with ugly cables that’ll destroy your aesthetic if you don’t hide them properly. Furthermore, exposed cables are a tripping hazard during those intense gaming moments when you jump out of your chair!
Also, avoid placing lights where they’ll reflect on your screen. I once mounted a light bar directly above my monitor, and the reflection was so bad I couldn’t see half the game. Subsequently, I had to completely reorganize my setup.
Level Up Your Gaming Experience
Listen, investing in proper gaming room lighting changed everything for me. Not only did my eye strain disappear, but my gameplay actually improved! Plus, my setup looks sick in the background of video calls.
Remember, you don’t need to drop thousands on fancy lights. Start with basic bias lighting and work your way up. Moreover, consider your room’s natural lighting and work with it, not against it.
Most importantly, make it yours! Whether you prefer cool blues, warm oranges, or full rainbow mode, the best gaming room lighting setup is one that makes you excited to sit down and play. Therefore, experiment with different configurations until you find what works for you.
Ready to transform your gaming space? Check out more setup guides and gear reviews on Streamcade – we’ve got tons of articles to help you build the ultimate gaming sanctuary!

[…] cable chaos, why not check out more gaming setup tips here on Streamcade? We’ve got tons of guides to help level up your gaming space. Whether you’re building your first setup or optimizing an […]